 The Epson EcoTank 18100 is an affordable entry to A3+ photo printing with the low running costs of refillable ink tanks. Epson’s stripped back the features to meet a price point, so there’s no built-in screen, no memory card slot or ethernet port, and no digital feedback on ink levels either. But with easy wireless printing from your phone or computer, I didn’t miss having additional connectivity or a built-in screen for feedback. And most importantly the six-ink engine delivered excellent quality on my test prints, especially when fed with glossy photo paper. Text-based documents on plain paper looked good too. If you mostly print black and white, you may prefer a system with additional grey ink, but I have no complaints with the monochrome results from the 18100. Meanwhile if archive lifespans are important to you, a pigment-based system may be more appropriate, but for high volume photo printing up to A3+ at home or in an office, the EcoTank 18100 is an excellent option with low running costs.
Epson EcoTank ET-18100 review
-
-
Written by Gordon Laing
The Epson EcoTank ET-18100 is an A3+ photo printer which uses six refillable ink tanks, making it cheaper to run than traditional cartridge-based models. It’ll also print on CDs, DVDs or PVC ID cards.
Epson sponsored my video below, but didn’t influence my tests or edit my opinion before publishing. They just asked if I’d like to test the printer as I would in a normal video, so I’ll be presenting the pros and cons as I see them, from installation and features through to quality, speed and running costs.
I actually used to review their printers when working for computer magazines in the 90s, so I was interested to see how the technology has evolved since then. Find out in the video below, or keep scrolling if you’d prefer to read the written highlights!
The major change is the use of refillable ink tanks, providing an official alternative to manually trying to refill cartridges with third-party inks.
Epson was one of the first to offer this back in 2010 with its EcoTank models, and today remains one of the few to offer relatively affordable A3 versions aimed at high volume photo printing.
The ET-18100 I’m reviewing here was launched in March 2023 and costs £699 in the UK. At the time I made this video, it wasn’t available in North America, but the ET-8550 offers a similar proposition with a few differences I’ll mention later.
The ET-18100 uses six different coloured inks, supplied in separate bottles with a full-set included in the box to get you started. Replacements are sold separately, allowing you to refill only the colour that’s run out, so no waste.
The printer uses 107 Series inks, all dye-based and in the usual black, cyan, magenta and yellow, with additional light cyan and light magenta for more accurate colour reproduction.
Replacement bottles contain 70m of ink and cost around ten pounds each. Epson reckons a full set of six bottles, costing around £60, should provide enough ink to make 2100 6x4in postcard sized photos, working out just under 3p per print for the ink alone.
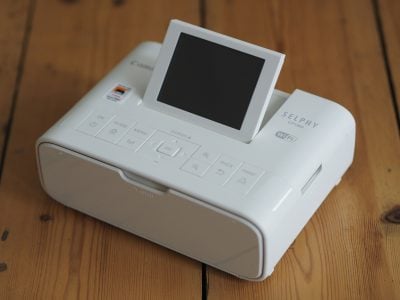
Meanwhile Epson’s 200gsm Photo Paper Glossy costs around £40 for 500 sheets, or 8p a sheet, making a finished postcard photo cost around 11p each, or roughly one third that of the dye-sublimation prints from Canon’s CP-1500 photo printer.
Scaling this up to larger prints, I calculated A4 photos printed using the same Glossy paper (sold in packs of 50 costing £23.49) would work out at just under 60p per print.
Meanwhile the largest A3+ size, measuring 13x19in (sold in packs of 20 sheets for £24.99), would work out at just over £1.50 per print. Again these are the costs of using Epson’s official ink and Glossy photo paper as quoted from their UK website. There are cheaper, not to mention more expensive paper types available if preferred.
Compare these prices to online service Photobox for example which at the time I made this video charged 11p for large numbers of postcard prints, £1.99 for A4 or up to £9.99 for A3, and while these are produced with a different process on different paper, you will have to pay for postage and of course wait for them to be delivered. Photobox does frequently offer discounts, but the costs remain higher than my calculations above.
So home or office photo printing with the ET-18100 can not only be convenient but pretty competitive too, especially if you can bag deals on larger volumes of paper, and it opens up the possibility of even running a small business selling photos or small poster prints.
Of course my calculations represent best-case scenarios and don’t include any wasted ink due to cleaning, and in fact when you first set up the unit, the one-off initialisation process consumes roughly 20% of the ink, leaving you with enough to make closer to 1700 postcard photos. But this process should only happen once and since the printer is aimed at regular use, blockages from dried heads should be minimised. Like all inkjets though, if you’re only an occasional user, you may prefer an alternative solution.
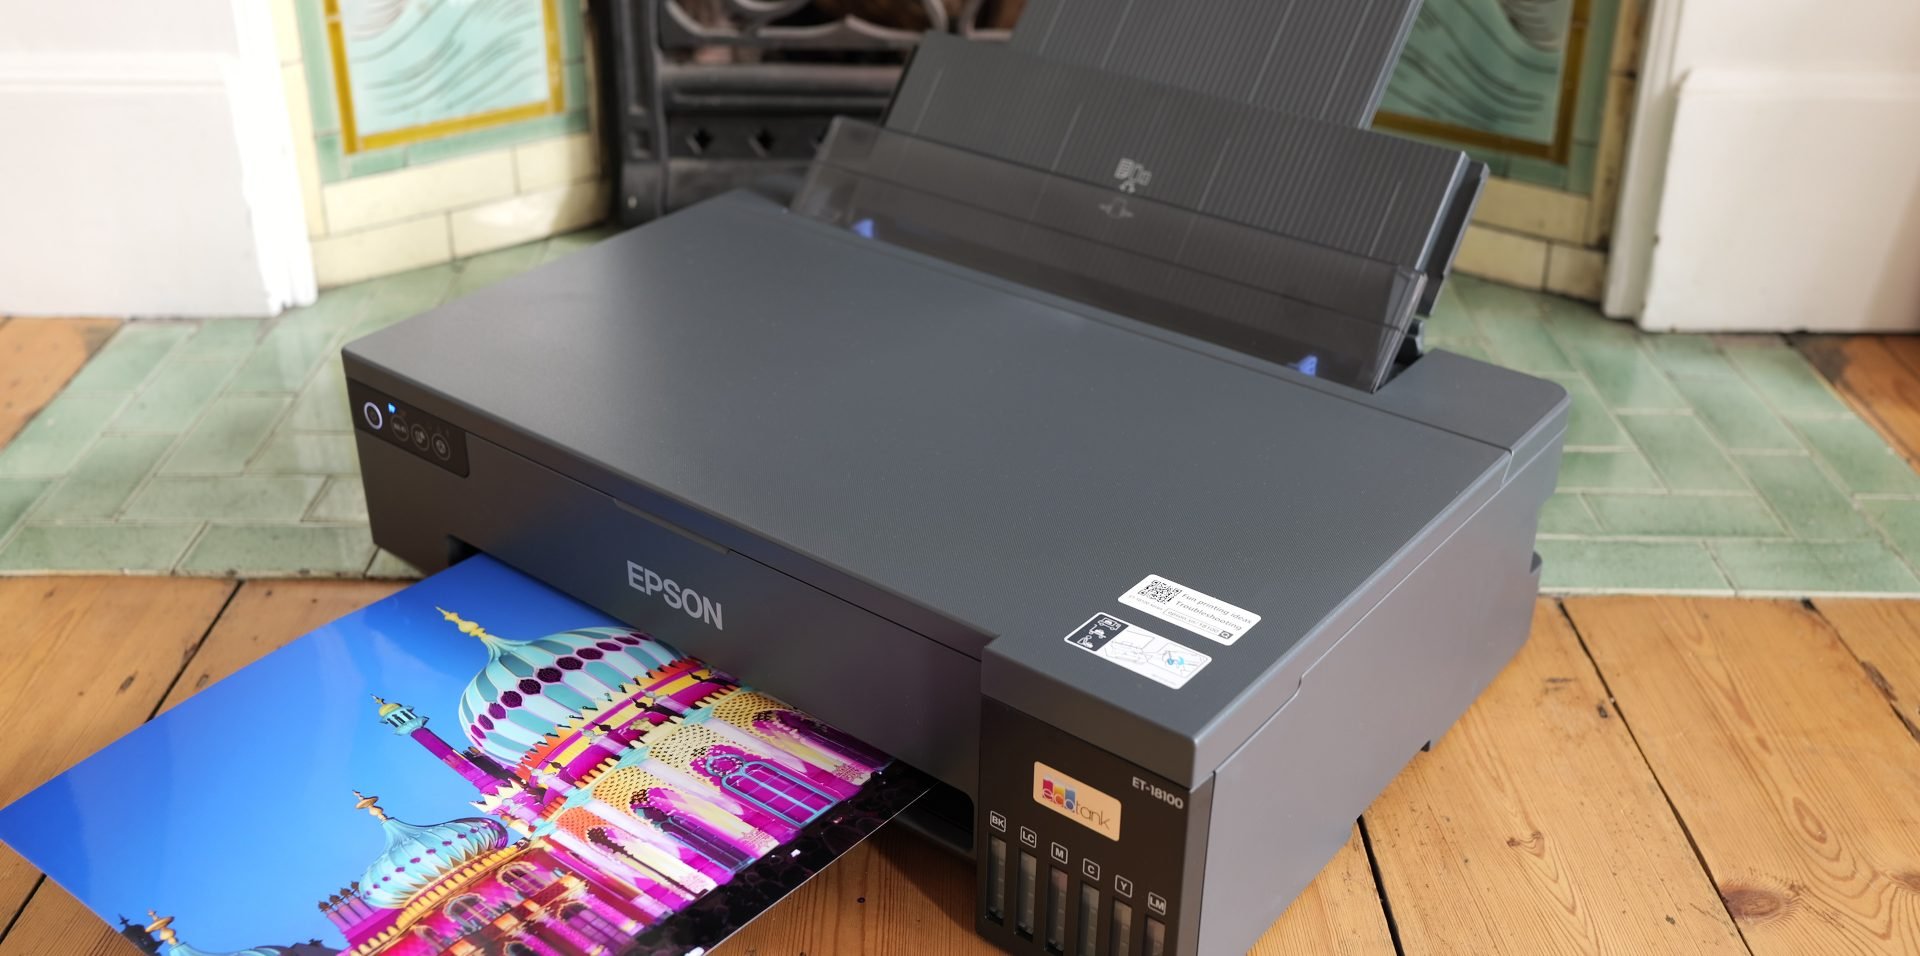
The printer itself is a fairly angular dark grey box, measuring 523mm wide, 369mm deep, 150mm tall and weighing 8kg without any media or supplies loaded.
There’s four illuminated buttons on the front, but no built-in screen, with the printer instead relying on a connected device like your phone to provide detailed information. That said, you can still diagnose some issues with the lights on the front alone.
The rear paper feeder and front output tray should be pulled out and extended for operation, but both fold neatly back flush within the body for storage, returning the unit to a tidy shape without any protrusions.
A separate tray is provided for loading CDs, DVDs or PVC ID cards. This slots above the output tray for printing, but can be stored underneath when not in use.
Like any A3 printer, the 18100 will inevitably occupy a fairly substantial portion of a desk or shelf, but with the feeder and tray folded-back into the unit, it can be pushed back when not in use. If you’re not using it for longer periods, Epson recommends storing it in a supplied plastic bag.
The six ink tanks are always visible from the front, allowing you to visually check the levels and how much is remaining.
To refill the tanks, first open the main printer cover, followed by the smaller tank cover. This reveals the six individual ink tank caps which keep them sealed during normal use.
Opening the cap to a tank reveals each is surrounded by a different shaped socket, ensuring you can’t refill them with the wrong colour ink. So find the matching bottle, twist off its cap and insert it upside-down into the socket. Once fitted properly, the ink will gradually pour into the tank and automatically stop when full. A complete refill takes about 40 seconds for each ink.
If this is the first time you’ve used the printer, you will need to perform a one-off charging process which takes about seven minutes and as noted earlier consumes about 20% of a full tank. This shouldn’t need to be repeated though.
Round the back are a socket for the supplied AC cord, and a USB port for wired connectivity with computers, although you’ll need to provide your own cable for that. Note there’s no wired ethernet port on this model and no slot for a memory card either.
While you can connect over USB, I think it’s fair to say the ET-18100 is mostly designed for wireless operation over Wifi. You can either connect the printer to a home or office Wifi network, allowing it to be accessed by all devices on that network, or configure it to transmit its own Wifi network for a direct connection to a single device. So if you don’t have access to existing Wifi at a certain location, no problem.
To configure the printer for use on your network, Epson encourages installing their Smart Panel app for Android or iOS phones, which guides you through the complete installation including filling the tanks, one step at a time.
Alternatively you can follow the supplied printed sheet to load the media, before configuring the network access via the epson website.
In the absence of a screen on the printer itself, I’d recommend installing the Smart Panel app not just for the initial configuration, but also to provide easier printing from your phone as it bypasses the need to install a separate driver. I tested the Android version running on my Samsung Galaxy S20.
The Smart Panel app has two main sections for printing and document capture, along with various tools to clean the printer or install additional apps for creative options.
Document capture uses your phone’s camera to photograph a document before optimising and printing it, a handy option since the printer itself doesn’t have a scanner of its own.
I used it here to effectively scan one of Epson’s printed guides about storing the unit, before cropping out the unwanted border. Once I clicked print on my phone, the job arrived at the printer almost immediately, taking about four seconds to load the paper and around ten more before it full-emerged. So about 15 seconds from clicking print to holding the finished copy, and this was using the standard quality settings.
I’ve got the original wrinkled sheet on the left and the copy made using the app on the right.
Next for plain text document printing. I exported a Google Docs document as a PDF on my phone, opened it in Smart Panel’s document section and sent three copies of the first page to the printer, selecting A4 Photo Quality Inkjet Paper, with standard quality and black and white output.
About seven seconds after tapping start, the printer started loading the paper and about 35 seconds later the first page emerged. The second and third copies took about 20 seconds each to print.
I was happy with the output on this paper stock with clearly defined black text, clean fonts and no smudging. A higher quality option is also available if preferred.
Next up photo printing, using an image I took with my Galaxy S20 phone in Northern Thailand. Here I’ve gone for the same A4 Photo Quality Inkjet paper, supplied for some of my testing, with borderless printing up to the edges, high print quality and with both auto correct and sharpness enabled.
About seven seconds after tapping Print, the paper was drawn into the unit, and about one minute later it fully-emerged. Considering this was printed on lower cost non-glossy paper, I’d say the photo looks pretty good with colours faithful to the original image and printing right up to the edges as requested.
Looking closer at the details shows perhaps a little too much sharpening, so unless you like this effect, I’d probably turn the sharpen option in the print menu off if your image is already quite sharp to start with – like most phone photos.
How about photos from a more serious camera? Here’s a shot I took with a Nikon D500 of Brighton’s Pavilion building illuminated for a commemoration. I copied the image onto my phone in the original resolution and will print it this time onto larger and better quality A3 Glossy Photo Paper, again borderless and in high quality mode, but this time with sharpness turned off.
About 20 seconds after tapping Print, the unit loaded the paper, and just over one minute later the print was complete. You can clearly see how much better-looking the glossy paper is for a photographic image, with vibrant colours, deep blacks and no banding in the subtle gradations.
Now let’s move onto printing from a computer and I’m using my MacBook laptop. Your first step is to download the latest software from the support page for the printer on Epson’s website, where you’ll find a software updater and driver.
The latter is all you need to actually print from a Mac, but the software updater also lets you install additional utilities, including Photo+ which lets you print onto CDs and ID cards. So I’d download and install both.
I think it’s time to try a black and white image, here a shot I took with the Canon EOS M200 of a stormy day in Brighton looking back at the beach. Here I’m using Adobe Photoshop, where Print Settings will bring you to Epson’s specific options, including colour management, although since the printer is unable to feedback supply levels, you’ll need to visually check the ink tanks by eye.
Under Print Settings you can select the paper type and printing quality, so I’ll select Photo Paper Glossy and the highest quality output.
Meanwhile from the paper size you can choose from a vast array of options, albeit only those with a popout menu allowing both border and borderless options. Borderless is available for A4, A3, 10×8, 6×4 and many others, and I’ve chosen A3 borderless once more, although in order to fill the paper vertically, I’ve needed to scale the image a little and reposition it to avoid cropping the left side.
Again roughly 20 seconds after clicking Print from Photoshop, the printer loaded the paper and about a minute later the print fully emerged. Black and white images are often a challenge for colour printers, but this looked good to me and when viewed in person didn’t have any coloured tints.
Note the 18100 doesn’t have any additional inks dedicated to making black and white images, unlike the 8550 which carries both photo black and grey inks, albeit missing out on the light magenta and light cyan inks of the 18100.
In theory this might make the 8550 a better printer for black and white photos, but I’ve not personally tested it, and the mono output from the 18100 certainly looked fine to me.
How about very dense coverage of mostly a single ink? Here’s a photo I took of a Lunar Eclipse by the Brighton i360 – quite an easy shot to line up if you’re using apps like Sun Surveyor – and taken with a Sony A6400 camera.
I’m going for another A3 borderless print here from Photoshop, but scaling the image a little so the viewing platform on the tower and the Moon are larger, and to ensure the image also fills the paper.
As before the image took roughly one minute to print using the highest quality settings onto A3 glossy photo paper, and the result looks great to me, with very bold colours against a deep black night sky with no unwanted printing artefacts.
Here’s one more borderless A3 print, taken in New York with a Sony A7S II and printed again from Photoshop using the same settings. Once again it took around a minute to complete once the paper had been drawn into the unit, and the end result is packed with detail and smooth colour gradations, especially in the sky.
Just before wrapping-up, the 18100 can also print directly onto 120mm optical discs like CDs and DVDs, as well as PVC ID cards. You can design a layout specifically for them using the Epson Photo+ application, seen here running on my Mac. Since optical discs are becoming retro, I thought it would be fun to print a label using the logo for my Dino Bytes channel where I make reviews of vintage gear.
Once you’re done you click Print, then prepare the special media tray with your blank disc or ID card (be sure it’s facing the correct direction), before pushing the tray into the printer until you reach the white marker. You can then push the far right button on the printer to start the job.
My print job took a minute and a quarter to complete, and the quality is obviously influenced by the surface of your particular media, but it remains useful should you want to label or brand discs, or make your own ID cards.
Epson EcoTank ET-18100 verdict
The Epson EcoTank 18100 is an affordable entry to A3+ photo printing with the low running costs of refillable ink tanks.
Epson’s stripped back the features to meet a price point, so there’s no built-in screen, no memory card slot or ethernet port, and no digital feedback on ink levels either.
But with easy wireless printing from your phone or computer, I didn’t miss having additional connectivity or a built-in screen for feedback. And most importantly the six-ink engine delivered excellent quality on my test prints, especially when fed with glossy photo paper. Text-based documents on plain paper looked good too.
If you mostly print black and white, you may prefer a system with additional grey ink, but I have no complaints with the monochrome results from the 18100.
Meanwhile if archive lifespans are important to you, a pigment-based system may be more appropriate, but for high volume photo printing up to A3+ at home or in an office, the EcoTank 18100 is an excellent option with low running costs.
Check prices on the Epson EcoTank ET-18100 or at WEX UK. If you're in North America, consider the Epson ET-8550 from B&H. Alternatively get yourself a copy of my In Camera book, an official Cameralabs T-shirt or mug, or treat me to a coffee! Thanks!