Apple QuickTake 100 retro review
-
-
Written by Gordon Laing
Every story has a beginning and when it comes to digital cameras, most of them start with the Apple QuickTake 100, not only Apple’s first digital camera, but a model widely considered to be the first consumer digital camera from anyone – terms and conditions apply.
Launched in early 1994 at a price of around $750, the QuickTake 100 packed one third of a Megapixel and a single Megabyte of storage into a case that looked more like a small pair of binoculars, with no screen for composition or playback.
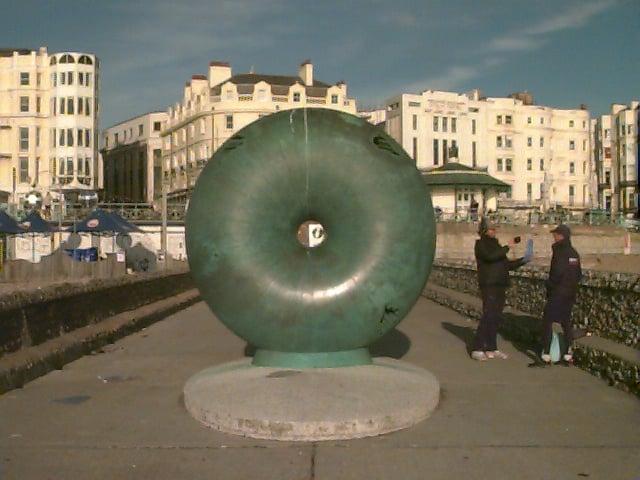
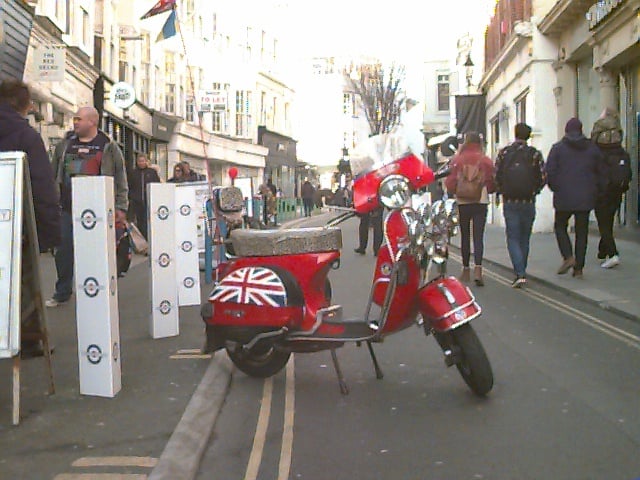
Almost three decades later I snapped one up on eBay for £40 and took it to the streets of Brighton, so in the video below, join me in rediscovering the birth of consumer digital photography and its often frustrating practicalities, especially today; or if you prefer to read the written highlights with a selection of sample images, keep scrolling!
But hold onto your horses: casually claiming a birth or a first for anything involves caveats and the QuickTake 100 is no different. A variety of digital cameras had already been around for several years previously, even longer in the labs, but what made the QuickTake 100 claim its place in history was being the first consumer model costing under $1000 and taking full colour photos; it even remembered your images if the batteries ran out.
Yep, prior to this, spending a grand would get you something like a Logitech Fotoman that stored black and white images in volatile memory which disappeared if you ran out of battery power. If you wanted full colour images that stuck around along with any meaningful control, you’d be spending a lot more on professional cameras.
Indeed in the early years, the consumer and professional markets for digital cameras resulted in strikingly different products. At the high-end, it was assumed pros would simply want a digital version of the film SLRs they were already familiar with. The first DSLRs typically adapted existing 35mm cameras, adding digital sensors where the film previously ran, and bolting on battery packs and storage devices to make them work.
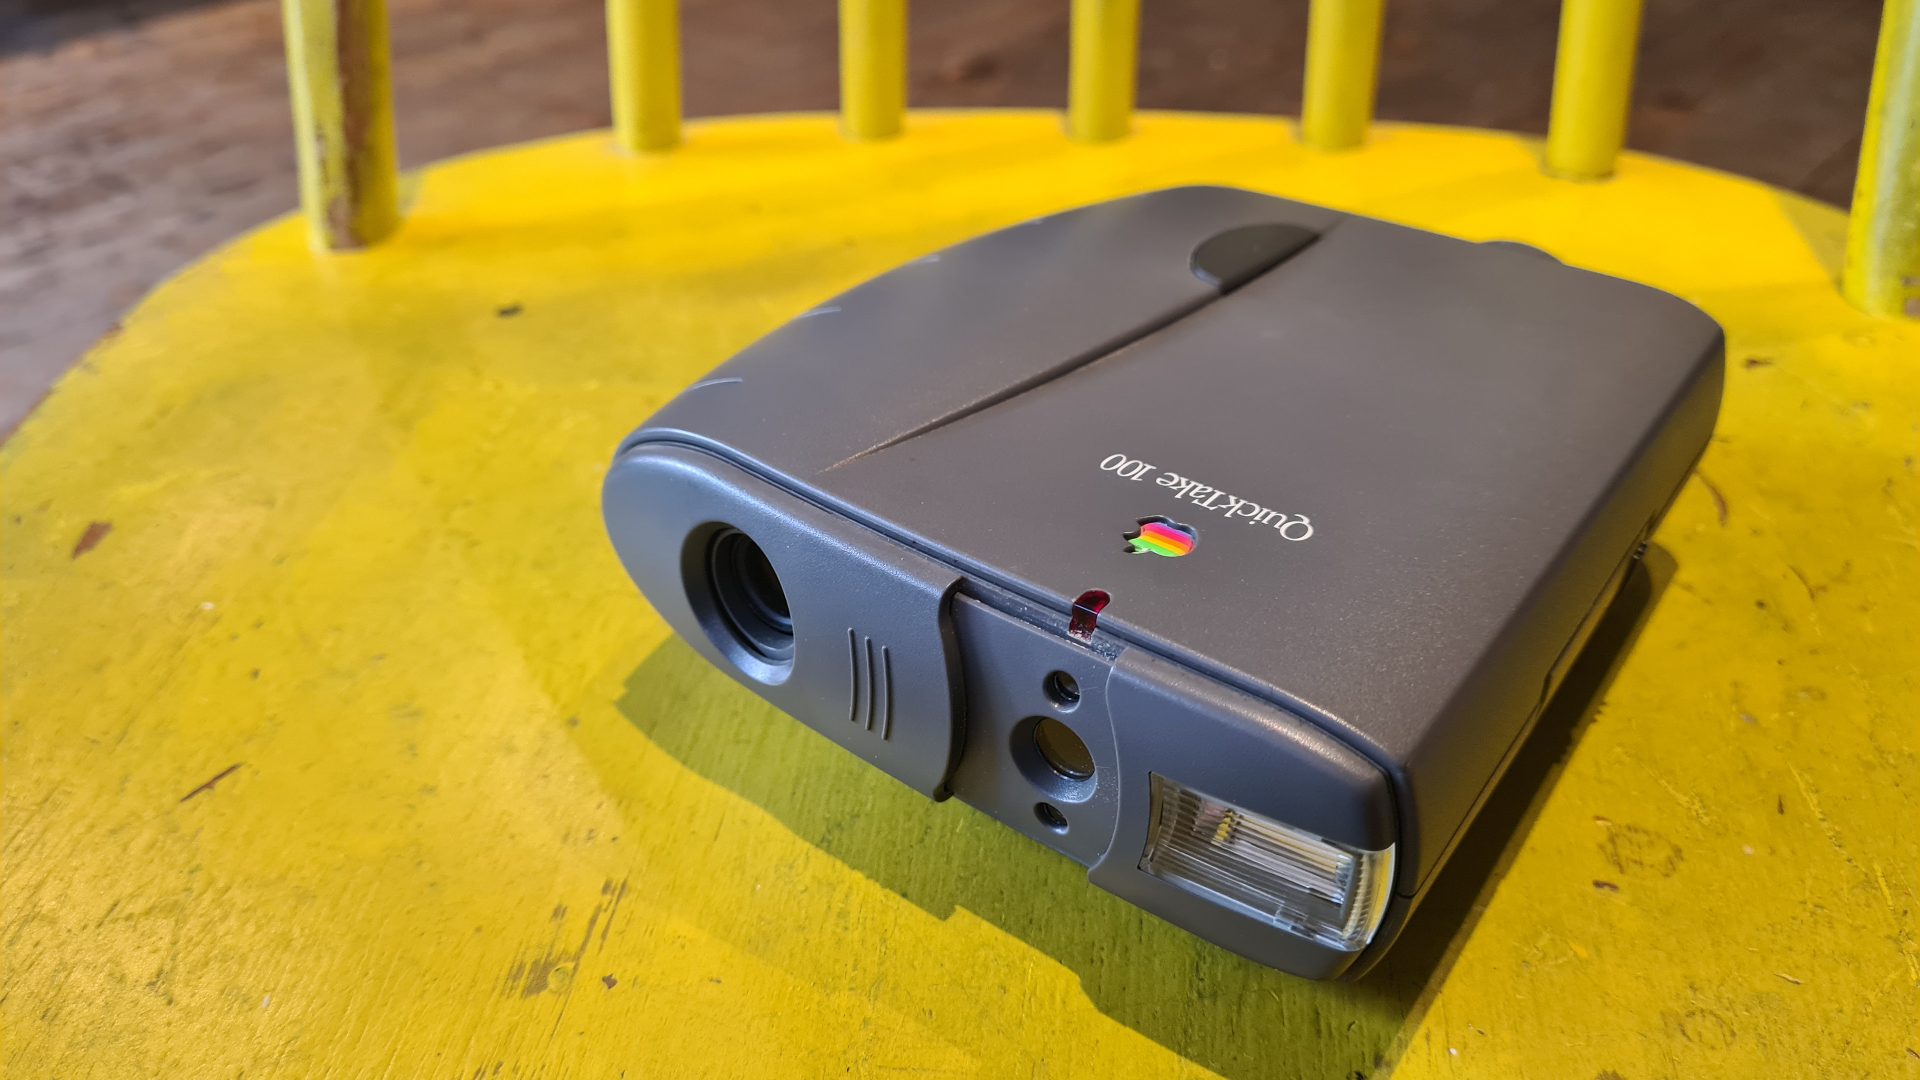
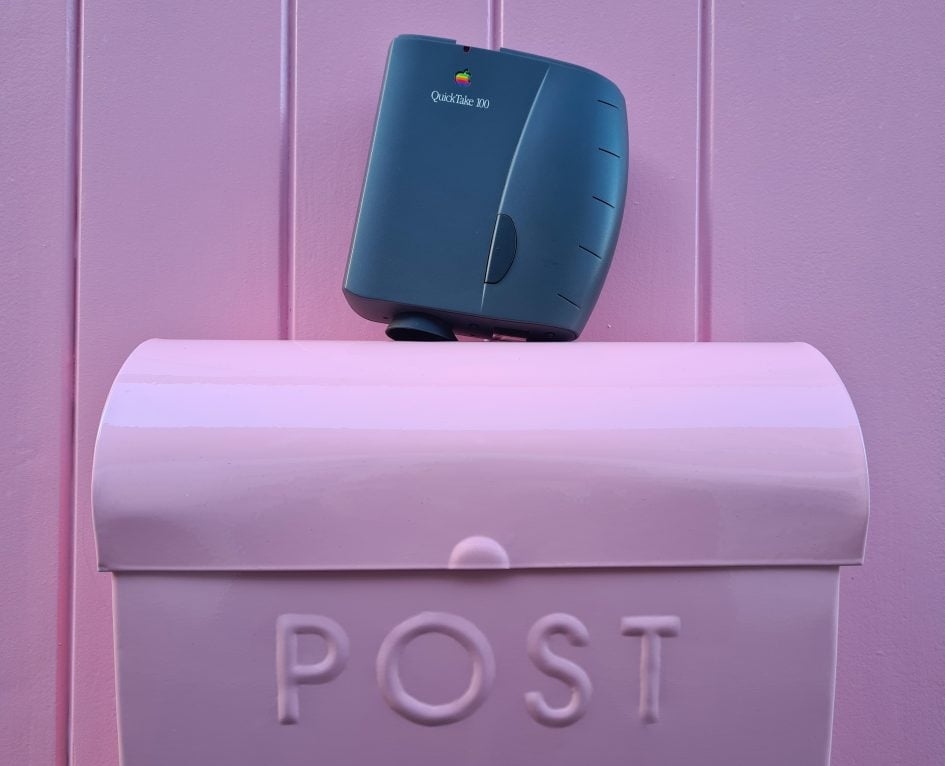
In stark contrast the consumer market back then felt like the Wild West, embracing the concept that digital cameras didn’t need to look anything like their analogue predecessors. Just look at the QuickTake 100, resembling a pair of binoculars – albeit with one eyepiece – and could be held like them too with both hands. Today it looks more like a surveyor’s tool rather than a stills camera, but back then it actually wasn’t an uncommon design, with companies like Kodak adopting a similar approach for its consumer models for several years.

Indeed the QuickTake 100 was a collaboration between Apple and Kodak, with Kodak providing most of the electronics including the sensor and lens, while Apple took care of the industrial design, LCD user interface and branding which included their standard rainbow logo and Garamond typeface of the time.
That’s not to say Apple didn’t have the ability or desire to design their own imaging electronics, as the company’s Advanced Technology Group had in fact been developing a more sophisticated camera in-house since the late Eighties. But various decisions saw it later spun-off into Flashpoint Technology which ended up powering a number of third party cameras including Kodak, HP and Minolta. In contrast, the QuickTake 100 had a more urgent deadline in order to both capitalise on growing consumer demand and beat rivals to market, so opted to go without an LCD screen for simplicity and to keep costs down.
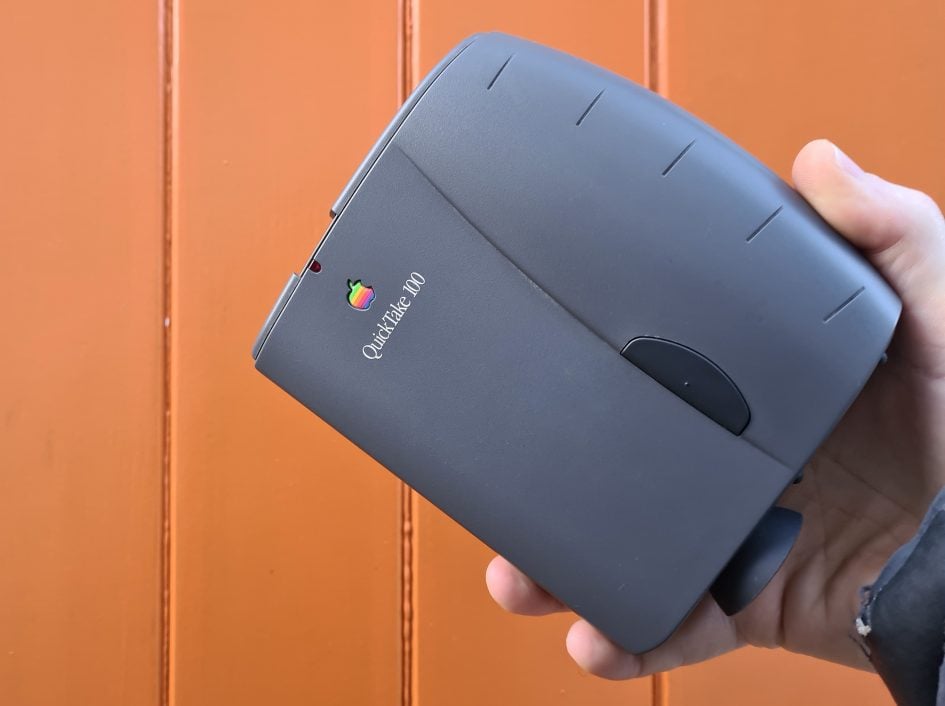
In use you could grip the QuickTake 100 reasonably securely using your right hand only, with your thumb supporting the camera underneath and at least two of your fingers resting over the substantial shutter button. But the shape naturally lent itself for two-handed support, like a pair of binoculars, and that’s how I used it most of the time. If you prefer to mount it, there’s a tripod thread underneath.
The camera itself is pretty simple. From the front a sliding cover unveils the lens and powers the unit on, while sliding it back switches it off again. You’ll also notice a pair of small sensors flanking a larger circle which is the front window for the optical viewfinder. To their right is a built-in flash with a range of four to nine feet.
The lens had a fixed focal length, equivalent to around 50mm, and a fairly modest closest focusing distance which sadly ruled out selfies at arm’s length. For its successor, Apple supplied a close-up adapter which clipped on the front.
On the rear you’ll find the optical viewfinder with a generous eyecup, although you will need to be looking straight through for a clear view. Also be careful not to obstruct the main lens with your fingers or anything else, as you won’t notice through the viewfinder.
Composition is with the optical viewfinder only, as while there is a screen on the rear, it’s for information and control only. It’s a basic LCD which shows the total shots taken in the middle, with the battery life below. Beware when this indicates half-full as you won’t have long left before the icon flashes and you’re unable to take any more pictures.
Icons in each corner of the screen indicate the only settings you can change using the buttons alongside them: clockwise from top left is the flash mode, cycling between auto, forced on or forced off.

Top right is the quality setting, toggling between Standard and High Resolution with a number alongside indicating how many of them you can record in the remaining memory. If the camera is empty, you could record up to eight so-called High Resolution photos, or up to 32 in the lower quality Standard Mode.
Lower right is the self timer, and lower left is the delete button, wisely recessed and only pushable with the tip of, say, a pencil or paperclip. Wise because this button represented the nuclear option, deleting not just the last photo taken, but every single image in the camera. And remember, in the absence of a screen to review your images, you were effectively shooting blind, and wouldn’t actually see your shots until connected to a computer later.
I guess you could always carry a laptop with you to offload images when the camera was full, but for most people, knowing you only had room for eight best-quality photos and no chance of reviewing them in-camera did at least encourage careful shooting.
To be fair, while sub-$1000 cameras with screens arrived soon afterwards, starting with the Casio QV-10, I’m not aware of anything remotely affordable with one back in early 1994. Also remember at this time most people’s photographic experience was with film, where you wouldn’t see your photos until they were developed long afterwards, so models like the QuickTake 100 were actually marketed as the faster option.
On the right side of the camera you’ll find the battery compartment, taking three AA’s, and happily working with rechargeables, making it easy to power-up today.
Meanwhile on the opposite side, behind a sliding flap that neatly pushes inside the body are two ports: one to provide external power, from either an AC adapter or an optional battery pack that took eight AAs, and the other providing an 8-pin Mini-DIN serial connection to a Mac or PC, as this was the only way to get the images out of the camera’s internal memory.
When the QuickTake 100 first launched, it was unsurprisingly a Mac-only product, supplied with a Mini-DIN cable and software that only worked with Mac desktops and PowerBooks of the day. Later that year, a Windows version arrived with a 9-pin D-SUB serial cable and software for that platform.

For imaging, the QuickTime 100 employed a Kodak CCD sensor with one third of a Megapixel, delivering photos with a maximum resolution of 640×480 pixels. Once again the internal memory could only accommodate eight of them, but if you wanted more, you could switch to Standard mode which reduced the size to 320×240 pixels, squeezing up to 32 images. They weren’t pretty, but remember a 640×480 VGA photo was already wider than most websites in the mid-90’s and also had sufficient resolution to be printed at least a couple of inches wide, making it adequate for listing papers with fast-turnarounds.

Once your memory was full though, that was it. If you absolutely needed to record more images while out and about, and you didn’t have a laptop to empty the camera, you had to push that Trashcan button and erase the entire lot like a Defender smartbomb.
Today, getting on for three decades later, one of the most challenging aspects of using the QuickTake 100 isn’t the modest quality, lack of memory or inability to review images, but actually getting those photos out of the device.

Like other cameras with built-in memory and a serial connection, you’ll need to track down the original software that talks to the camera, find a computer that can run it, and which crucially also has an appropriate physical interface for the cable. Had the QuickTake 100 alternatively offered a TV output, you could have captured that, but it was serial or nothing.
The original QuickTake software for both Macs and PCs is relatively easy to find on archives, but sadly I couldn’t get it to run properly under emulation on modern systems, nor communicate with the camera using a USB serial port adapter. Now your mileage may vary, especially as emulators are improving all the time, but my only option was to find a more age-appropriate computer from a similar era in the mid to late 90’s.
In the end I found two: I tracked down an old PowerBook 165 laptop with 180 electronics from eBay for 60 quid, and built my own Windows 98 system using a circa Year 2000 motherboard and a Compact Flash card pretending to be an IDE hard disk.
Here’s the PowerBook talking to the camera using an original QuickTime cable lent to me by a friend, and here’s the Windows 98 system using a serial cable I bought from eBay. Since the PC had more modern connectivity, it was easier for me to access the actual images once they’d been copied across.

But even then, there’s a final gotcha as the QuickTake 100 doesn’t simply record its photos as JPEG files. Oh no, that’d be too easy and instead it records them using a proprietary QTK format which modern software won’t recognise.
Luckily the QuickTake software for both Macs and PCs will allow you to export images from the camera in more friendly formats, including JPEGs from the Windows version, and both will even allow you to remote control the camera and shoot with it tethered.

Apple QuickTake 100 verdict 29 years later
I like to be respectful about all the vintage gear I review here, but the fact is using the QuickTake 100 in the modern day proved to be the most frustrating experience I’ve had on this channel, packed with caveats and catch-22s.
The camera itself is simple enough to use, and I welcome any vintage device that’s easily powered today by AAs, but the limited capacity coupled with an inability to review images or delete anything other than the entire lot makes it impractical for anything beyond a historical curiousity.
Plus that’s before you even jump through the hoops required to actually get the images out of the camera – and once you do, the photo quality is basic to say the least. If you’re after a vintage digital camera that’s easier to use in the modern day, I’d skip ahead a few years.
To be fair at the time, the biggest criticism was the limited capacity, addressed one year later with the mildly-updated QuickTake 150 which could double the number of shots. No, not by doubling the memory as some reported, but by simply employing stronger compression, and early adopters of the original 100 could send their cameras in for a paid update. The QT150 was also supplied with a closeup adapter that clipped over the front, finally allowing handheld selfies to be in focus.
But by this time the market was evolving quickly, and while many new cameras still relied on internal memory and proprietary serial connections, most now sported screens for composing and reviewing images, along with AV outputs to TVs which are easier to capture today. Casio’s QV-10 was the first in a flood of cameras with these capabilities.
Apple responded with their third and what would become their final dedicated camera, the QuickTake 200. Developed with Fujifilm, it was essentially a rebranded version of the DS-8, sporting a colour screen and removable Smart Media memory cards.
But Apple as a company was struggling at this point and once Steve Jobs returned a year later, his first move was to streamline the product range, canceling lines including the QuickTake cameras and Newton PDAs to concentrate on their core-strength of computers. So that marked the end of the QuickTake story.
While Apple only produced three dedicated QuickTake cameras, all of which were essentially rebranded Kodak or Fujifilm models, it still has the claim of kick-starting the consumer digital camera market back in the mid-Nineties.
And ironically it can also be credited as being pivotal in their downfall decades later, when the imaging capabilities of the iPhone became sufficiently good for most people to dump their point and shoot cameras. In fact the iPhone has become the most successful and popular series of digital cameras to date, if you can class it as such.
As for the QuickTake 100, it certainly deserves a position in every serious vintage collection as one of the most important early models, but actually using it almost three decades after launch is really only for the techno masochists out there. The effort to reward ratio is one of the worst I’ve experienced, although I’m relieved I managed in the end. After all, as a former PCW Editor I couldn’t let it beat me, right?
Check prices at Amazon, B&H, Adorama, eBay or Wex. Alternatively get yourself a copy of my In Camera book, an official Cameralabs T-shirt or mug, or treat me to a coffee! Thanks!